a. Wash your hands thoroughly for 20 seconds with soap and water.
b. Assemble the clean breast pump set.
c. Check to see whether the pump kit or tubing has developed mold or gotten dirty while being stored. If your tubing has mold, replace it right away.
d. If using a shared pump, clean it.
e. Use a disinfectant wipe to clean the pump dials, power switch, and tabletop.
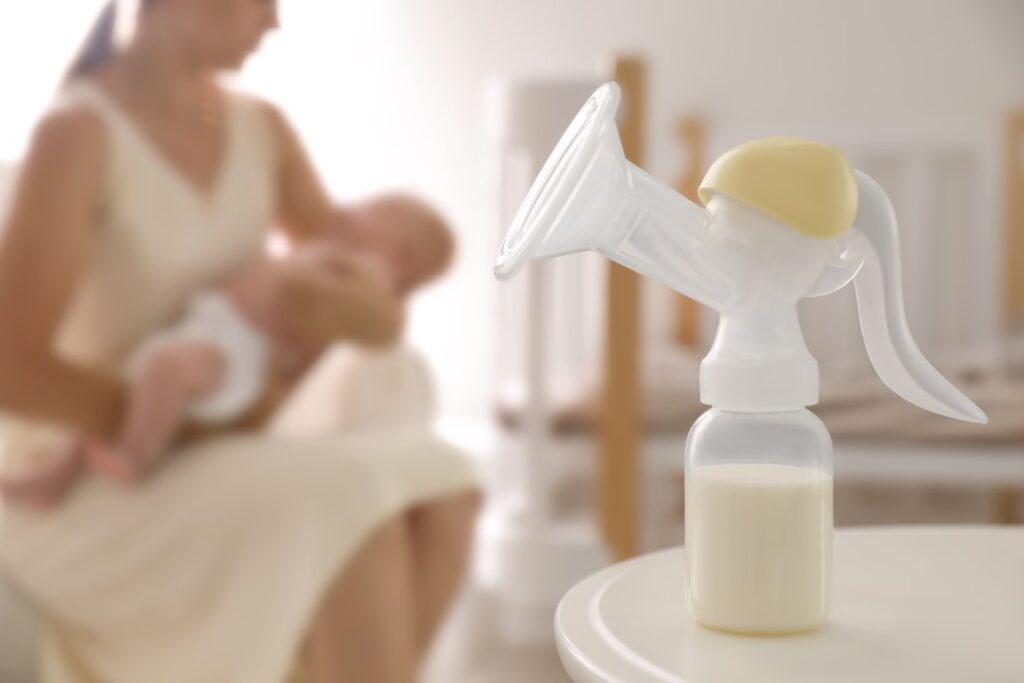
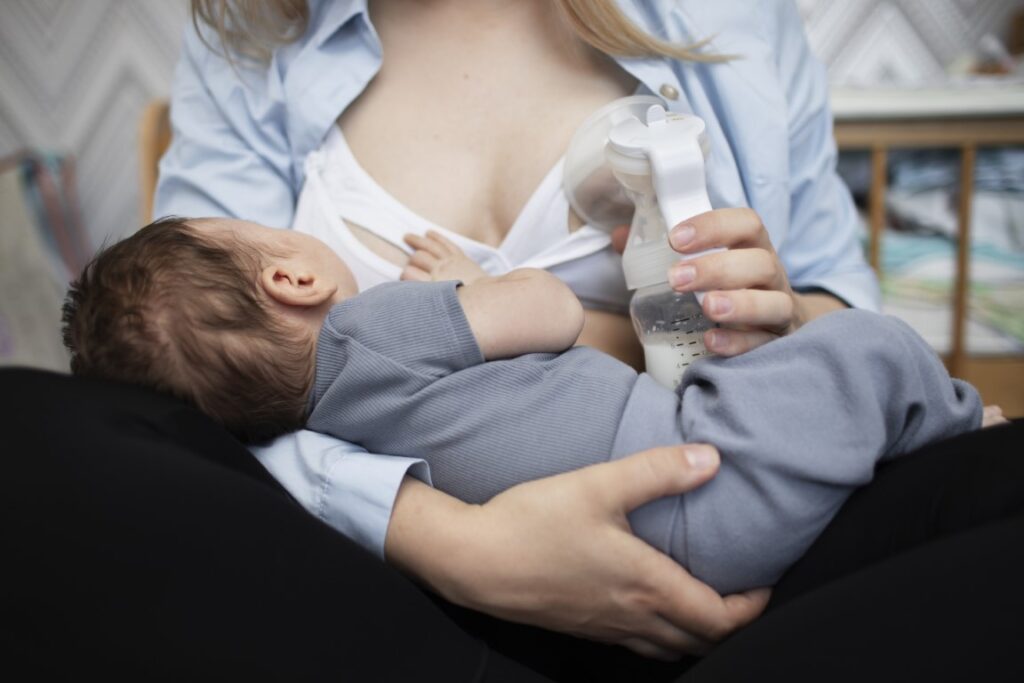
How to use manual breast pump
It will take a little longer to express milk with a manual breast pump than it will with an electric pump. The advantages of manual breast pumps are their lower cost, ease of use, light weight, and quieter operation. Here are some tips for using a manual pump for expressing breast milk:
a. Ideally, choose a warm, quiet place where you can unwind and become comfortable.
b. Starting with a few minutes of breast massage will aid with the let-down reflex. Seeing a picture of your baby might be beneficial too.
c. Put the breast shield or pumping funnel over your nipple and begin pumping gradually. It can take up to a few minutes before the milk begins to flow.
d. As your milk starts to slow down, switch breasts. Then switch back again in case you have additional milk to express. It’s common to notice that one breast may produce more milk than the other.
e. Once both breasts have been drained, take off the breast shield and cap the bottle (making sure the screw is tight). You have two options: immediately put it in the refrigerator, or keep it out at room temperature for no more than four to six hours.
How to use electric breast pump
Choose a low suction setting and begin gently while using an electric breast pump. An electric breast pump has the benefit of completing the task faster than a manual breast pump since it does it for you. Here are some pointers for using an electric pump for expressing:
a. Sanitize your hands. Before using, make sure the pump, container, and components are sterile and clean. Ideally, choose a warm, quiet place where you can unwind and become comfortable.
b. Starting with a few minutes of breast massage will aid with the let-down reflex. Seeing a picture of your baby might be beneficial too.
c. Turn on the machine and place the breast shield or funnel over your nipple. Start off at a leisurely pace, or whatever pace feels most comfortable to you. Before your milk begins flowing, it can take a few minutes, but once it does, you can speed it up.
d. As your milk starts to slow down, switch breasts. Then switch back again in case you have additional milk to express. It’s common to notice that one breast may produce more milk than the other.
e. After emptying both breasts, take off the breast shield and cap the bottle. You have two options: immediately put it in the refrigerator, or keep it out at room temperature for no more than four to six hours.
After each breast pump use:
a. Safely refrigerate milk.
b. Place the milk collection bottle cap or milk collection bag closure, together with a date and time label, right away in a freezer, refrigerator, or cooler bag filled with ice.
c. Add a name to the label if the milk collection container will be kept at a hospital or daycare center.
d. Keep the pumping station hygienic. Clean the dials, power switch, and tabletop with disinfectant wipes, especially if using a shared pump.
e. Disassemble and examine the pump kit. Disassemble the breast pump tube and remove any component that comes into contact with the breast or breast milk (for example, flanges, valves, membranes, connectors, and milk collection bottles).
f. Rinse the pump set to get rid of any leftover milk, thoroughly wash all breast pump components that come into touch with the breast or breast milk.
g. Put the pump parts in a tidy sink that is solely used to wash baby feeding equipment. Pump parts shouldn’t be put directly in the sink since the bacteria in drains and sinks might contaminate the pump.
h. Add soap and hot water to the washbasin.
i. Clean things as directed by the pump kit manufacturer. Use a clean brush that is designated just for cleaning baby feeding equipment if you must.
j. Rinse the items by holding them under running water or by soaking them in clean water in a special sink meant solely for cleaning baby feeding equipment.
k. Allow for full air drying. On a clean, unused dish towel or paper towel, arrange the pump components, wash basin, and bottle brush in a place free from dust and grime.
l. Avoid rubbing or patting objects dry with a dish towel as doing so might spread germs.
Sanitize for additional protection
Sanitize the components of the pump at least once per day to further reduce germs. Sanitizing is very important if your baby is less than two months old, was born early, or has a weaker immune system because of illness or medical care. If the pump parts are properly cleaned after each usage, older, healthier babies may not require daily sanitization of the parts.
One of the following methods should be used to sanitize everything, including the bottle brush and wash basin:
a. Firstly, clean. Only after they have been thoroughly cleaned should pump components, bottle brushes, and wash basins be sanitized.
b. One of the following methods should be used to sanitize the pump kit, bottle brushes, and wash basins: To find out if something can be boiled or steam-cooked, see the manufacturer’s instructions.
1.Steam:
a. Use a microwave or a plug-in steam system as directed by the manufacturer.
2. Boil:
a. Disassembled components that can be boiled should be put in a saucepan with water. Turn on the heat and bring the saucepan to a boil for 5 minutes.
b. Use clean tongs to remove the objects. Allow for full air drying. Clean, unused dish towels or paper towels should be placed in a place that is free of dust and grime with the cleaned pump components, wash basin, and bottle brush. Avoid rubbing or patting objects dry with a dish towel, as doing so might spread germs.
c. Carefully store until needed.
d. To help stop the growth of bacteria and mold, let the clean pump components, bottle brushes, and wash basins completely air dry before storage. The objects should be stored in a sterile, safe environment after they are fully dry to avoid infection while being stored.
Important tips for maintaining breast pump tubing
a. Breast pump tubing does not come into contact with the milk when it is being pumped and does not require frequent cleaning.
b. In case the tubing you are currently using becomes tarnished or broken, keep a replacement pair on hand.
c. After a pumping session, if your tubing has water droplets in it, cut the tubing loose from the flange or pump kit but keep it connected to the pump. Once the tubing is dry, keep running the pump for a few more minutes.
d. If your tubing contains milk or mold, throw it away right away since it will be challenging to clean thoroughly. Replace it with a fresh set of tubing and check the cause of the issue.
e. It is necessary to replace the membranes or valves.
f. If the exterior of your tubing is dirty, clean it with a disinfectant wipe or a moist cloth.

