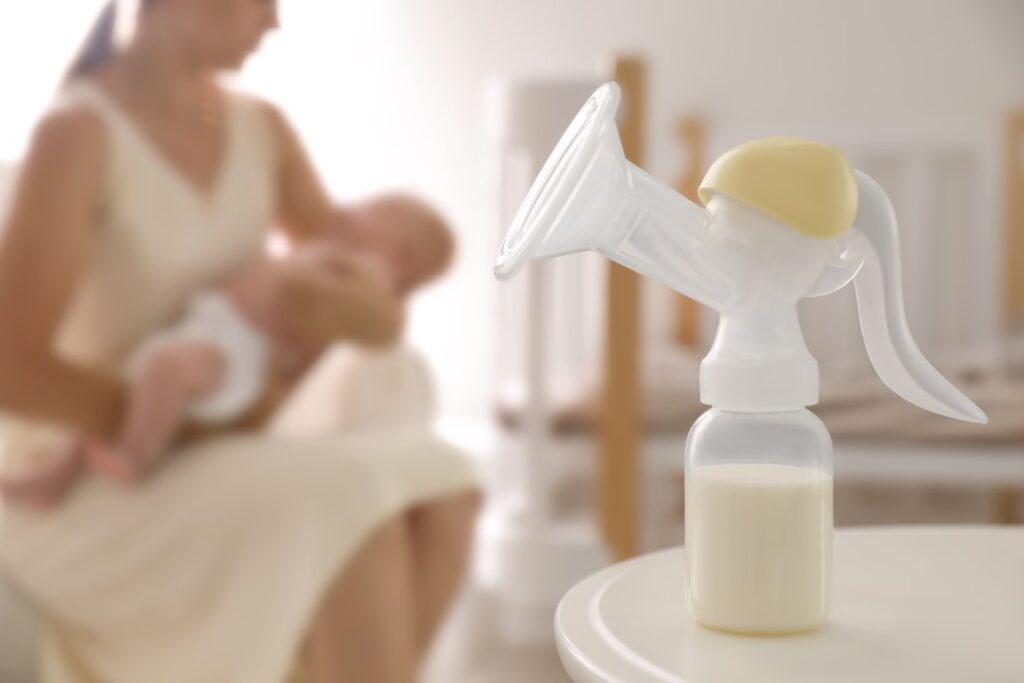
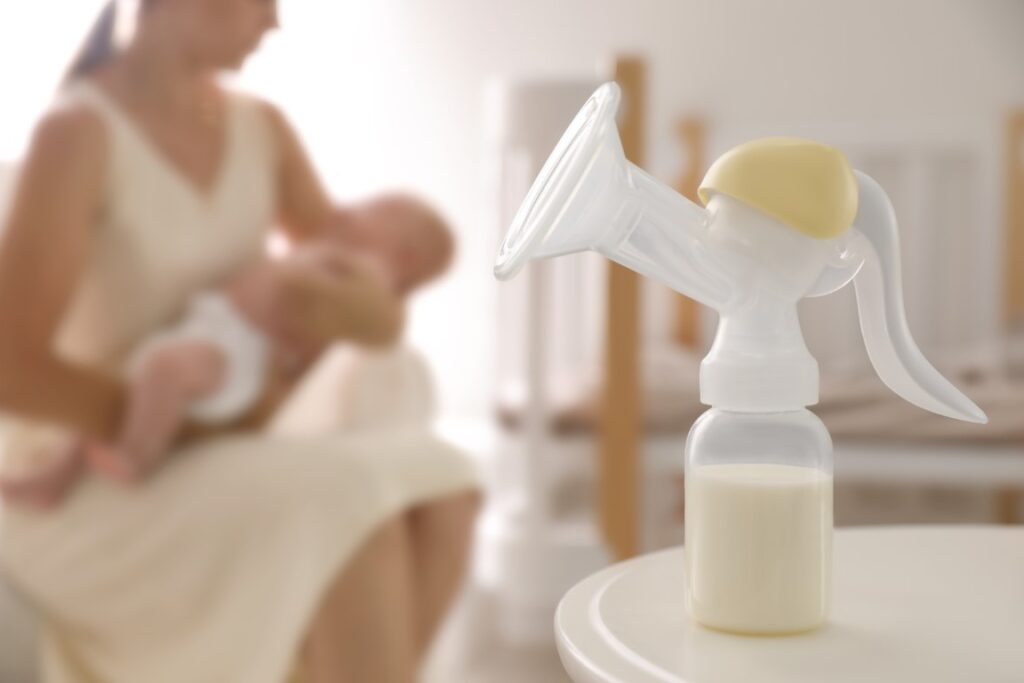
a. The first step is to choose a place and a seat that are comfortable for you.
b. Before you begin, make sure you have all of the items you’ll need to avoid having to stop the feeding.
c. Always have a water bottle with you. Breastfeeding can make you surprisingly thirsty.
2. Position the baby
a. Skin-to-skin contact is ideal for breastfeeding.
b. Lay your baby with its head between your breasts on your bare tummy.
c. The mother’s stomach should contact the baby’s stomach.
d. Hold the baby in a comfortable manner.
3. Latching the baby
a. Instead of bringing the breast to the baby, bring the baby to the breast.
b. Put pressure on your thumb to make your nipple point upward.
c. Tease your baby between the nose and the upper lip with your nipple.
d. Wait for your baby’s mouth to open wide.
e. Gently push your breast into the baby’s mouth as soon as it opens and wait for the baby to become comfortable.
f. A baby should latch on to the areola (the darker area surrounding the nipple), not just the nipples. Therefore, perform the following test to check.
g. Use your pinky finger to slide into the baby’s mouth. If you feel the latch is not deep enough or is inflicting pain, then re-latch your baby.
h. It is best to see a lactation specialist to have the latch and baby examined if the breastfeeding pain persists.
i. Support the baby’s lower body and neck rather than only the head.
j. Wait for the baby to self-unlatch, then burp the baby and place them on the same breast.if milk flow is still continued.
k. Burp the infant and switch sides if the baby needs more .
l. Once the infant is satisfied you can let the baby sleep or play whatever is applicable.
m. Drain one breast completely before switching sides. Even if the other breast is leaking, you must completely drain one breast.
n. This is because the foremilk, or the first milk that comes out of the breast, is mostly water, whereas the hindmilk, or the milk that comes after, contains fats and nutrients essential for your baby’s growth.


